Reading a crochet pattern becomes easier when you know where to look. Before making the first stitch, take a few minutes to understand how the designer has organized the instructions.
Find the pattern’s terminology
Look for an explicit statement of US or UK crochet terminology. The same abbreviation can refer to a different stitch across these systems. Use the pattern’s own abbreviation list and stitch explanations as your primary reference.
Read the materials and gauge
The materials list is your starting checklist. Notice yarn weight, recommended fiber, yardage, hook sizes, and any extras. The gauge statement tells you the target number of stitches and rows over a stated measurement and may name a particular stitch pattern.
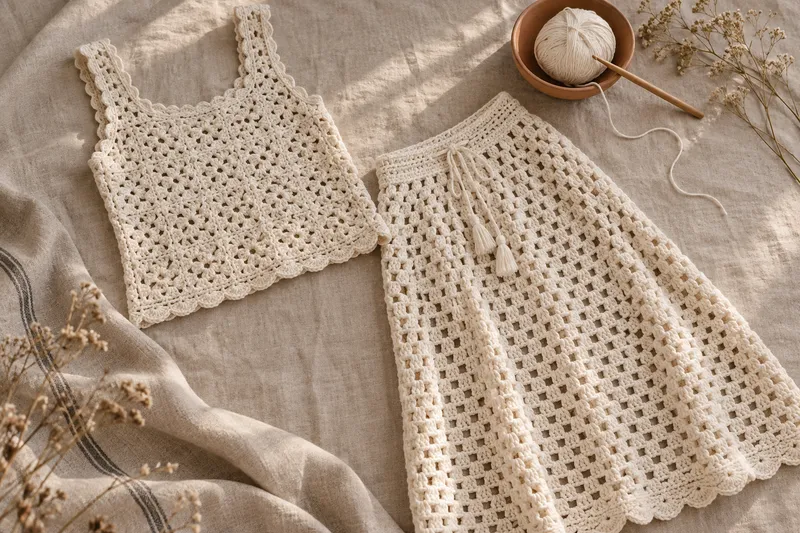
Work the specified swatch and follow the designer’s directions for measuring it. For a wearable set, this step helps you compare your fabric with the pattern’s intended sizing.
Understand repeats before starting
Designers may use asterisks, parentheses, or brackets to mark repeated instructions. Read the key or notes to learn how those symbols are used in this pattern. Do not assume every designer uses them in exactly the same way.
Underline the instructions for your size on a personal working copy if the designer’s terms permit printing. Keep the original file unchanged so you can return to it.
Check your stitch count
If a row or round ends with a stitch count, compare it with your work before moving on. A small mismatch is often easier to locate immediately. A removable stitch marker can help you keep track of the beginning of a round.
Keep notes for the second piece
With a set, record which hook you actually used, how you measured the swatch, and any approved adjustments. These details are easy to forget by the time you start the matching piece.
Our project planner has room for these notes. For pattern terminology charts, consult the Craft Yarn Council’s crochet abbreviations.